Monthly Archives: September 2012

Brakes working!

Worked like a charm. Reassembled the old caliper body with the removables from the new one. Ms. Jenavieve is drivable again. Drove around for about an hour today just because I could.

She is still pulling a bit when I brake, but not nearly as bad. I figure my hoses from Greg should be arriving probably Tuesday, and when I get them I will probably disassemble and clean the other caliper and replace the pads on that side, since I have them.

Having fun again.

Brakes continued…

OK, things are making more sense today. Turns out that the Spitfire caliper is not exactly the same. The mounting lugs are about 1/4″ closer to the caliper body than they were on the Jensen caliper. So, what was actually hanging up was the edge of the rotor.

Not to be dissuaded, I decided to disassemble the old caliper. After struggling with getting the pistons removed (compressed air works great to remove one, but then I had to figure out a way to seal the side I removed so that I could remove the other one) I took a good look at the inside of the old caliper, and it’s basically more dirty than anything else. So, I took some emery cloth and shined things up, and the inside of the caliper looks great now. The pistons look almost as good, and they all slide together nice and smooth. Thinking maybe what I will do tomorrow is disassemble the Spitfire caliper and swipe the seals and maybe the pistons to rebuild my old caliper myself, since I went this far.

Let’s get those brakes working, part deux

Well, this is interesting. I’ll be looking more into this tomorrow when I have more time, but the caliper replacement went way better than I expected… until the end.

Old caliper came right off. I was expecting to have to do a lot more persuasion on the mounting bolts and brake line nut than I had to. Everything loosened up nicely. Oh, and the caliper is seriously locked up. Couldn’t move the pistons at all, at least by hand.

Assembled the new pads in the new caliper, and slid it into place. Holding it in place, there was just a little clearance between the pads and the rotor… perfect! My troubles are solved, right? Well, not so fast. I inserted the bolts and tightened them finger tight… and the rotor wouldn’t turn. Scratched my head over this for a bit… checked the pads, not dragging. In fact they were rattling around a bit. Looked further into it and the outside edge of the caliper is tight against the rotor. Huh?

So I looked at it from the front, and I see that the rotor is not even close to being centered in the caliper. Well, that’s no good. Took it apart and put it together a couple of times, just to be sure I had it right (sheesh, it’s not that complicated) but all with the same result.

So, tomorrow I do a little more playing with it. Thinking about it, it’s not an issue with adding spacers to the caliper bolts because that will make it worse… it needs to move in the other direction, and obviously it can’t because it’s already tight against the mounting surface. Or, the rotor needs to move inward…?

Wondering if maybe it’s not a stock rotor? Too thick maybe? I’d guess it at about 3/8″ which from what I’ve seen in other posts sounds about right. Or maybe the mounting surface (didn’t peek back there) is bent somehow? I’ll be taking some very careful measurements tomorrow to investigate if there are any differences between the two calipers that would cause this, but I would guess that there is about 1/4″ of clearance between the caliper frame on the inside edge, and none at all (tight against the rotor) on the outside edge.

Really confused. More info after sleeping on it and looking at it again.

Let’s get those brakes working

The project inches along. Being in Wisconsin, I’ve got maybe a month at best of driving weather before winter gets here, so I set my goal of getting Ms. Jenavieve drivable for the short term (yes, she got a name). Talked with Greg at the JHPS store and he didn’t have any calipers on the shelf, so I found a cheap Cardone rebuild caliper to get me through for now (it’s actually specced for a Spitfire but supposedly it’s a direct replacement, sure looks like the same one). I did order new brake hoses from Greg since he had those in stock.

Assuming that all’s well there once I get these parts in, I’ll spend the next few weeks getting a little driving enjoyment and once winter comes, she will go into full restore mode. At that time, I’ll probably pull both calipers and send them to Greg to have them rebuilt.

I’ll get there.

Oh… and I *finally* figured out, after reading the manual, searching the forum, and looking at pictures… how to properly stow the soft top. It actually works pretty well if you do it exactly right. It almost looks like the picture in the owners manual, though my top is a little stiff so the “flaps” at the rear quarters don’t compress down quite tight enough to roll up super tight… but they do fit and I’ve got the cover nicely installed over the top. The trick, the part I had the hardest time understanding, is to drop the rear rail down behind the frame before rolling the top. You wouldn’t think it would be that complicated.

Tach still not working

Well, did the experiment I talked about. Started her up, ran her for a bit, then shut her down and pulled the wire off the ballast resistor (the one that runs to the tach). Tried starting her again… she would catch once like she wanted to start and then die. So, that tells me initially that the 12v is going through the tach as it should. Or if it’s jumped, it’s not under the hood anyway.

Garage will be cleaned and ready tomorrow… then I can start in earnest.

Getting her room ready…

Haven’t touched Ms. J since last week, as I needed to fix up her room.  Spent the weekend finishing up the insulating and drywalling of the garage (I had done the ceiling a couple of weeks ago, and I just needed to do the walls to finish). Now that that’s done, I can get back to her.

Bonus find of the weekend, and perfect timing… wifey wanted to go out rummage saling on Saturday, and the first place we stopped had a 4000W flush wall mount electric heater. $15 bucks, and it’s never been used. That went into the wall before the insulation and drywall went up. Now I’m really ready for winter.

Electrical and brakes, oh my!

Small victories… did some more wire tracing last night and found that the reason the temp gauge wasn’t working was because the wire that was supposed to be connected to the sensor was lying down under the carbs. Popped it back on the spade and it works fine. Wish they were all this easy.

Still no tach though. It doesn’t move at all. Am I correct in assuming that if the white/slate wire from the tach to the ballast resistor isn’t connected, the car won’t run? I could just disconnect it and try, I guess.

This weekend I’ll be pulling the calipers off and seeing just how stuck the left front is. At this point I’m pretty much prepared to replace the calipers, pads, and brake lines assuming that the caliper is indeed sticking. If not, maybe I can get away with just the pads and lines for now. The rotors, from what I can see looking through the wheel, don’t seem to be too bad so I’m hoping that maybe I can hold off on them.

Hoping I can get the brakes resolved shortly to at least get me through a couple of months (it’ll be winter here soon and she’s definitely not going out in the snow, I have a Ford Excursion for that!). To give me a bit of incentive, our town has an Octoberfest downtown festival the last weekend in September (go figure) and they do an informal car show on Friday night, just everyone parking on the main drag. Every year they do a featured “theme” and of course this year, ironically, is “British Sports Cars”. So of course I want to get her down there, even though she’s not near show ready. We’ll see if it happens.

She comes home for the first time!

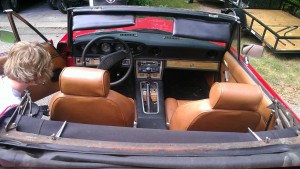
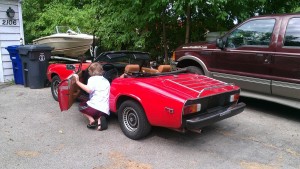
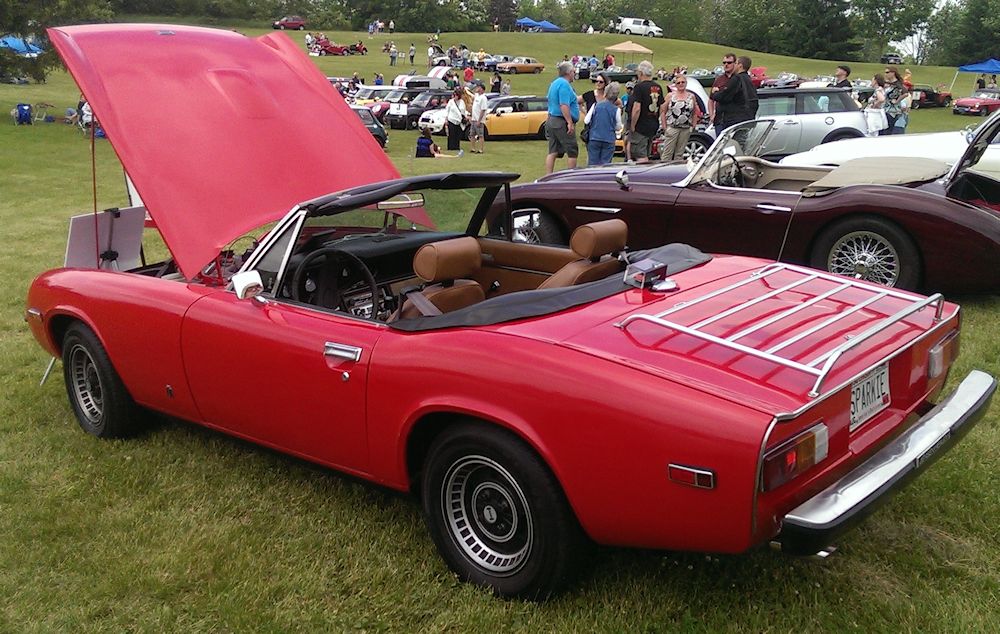
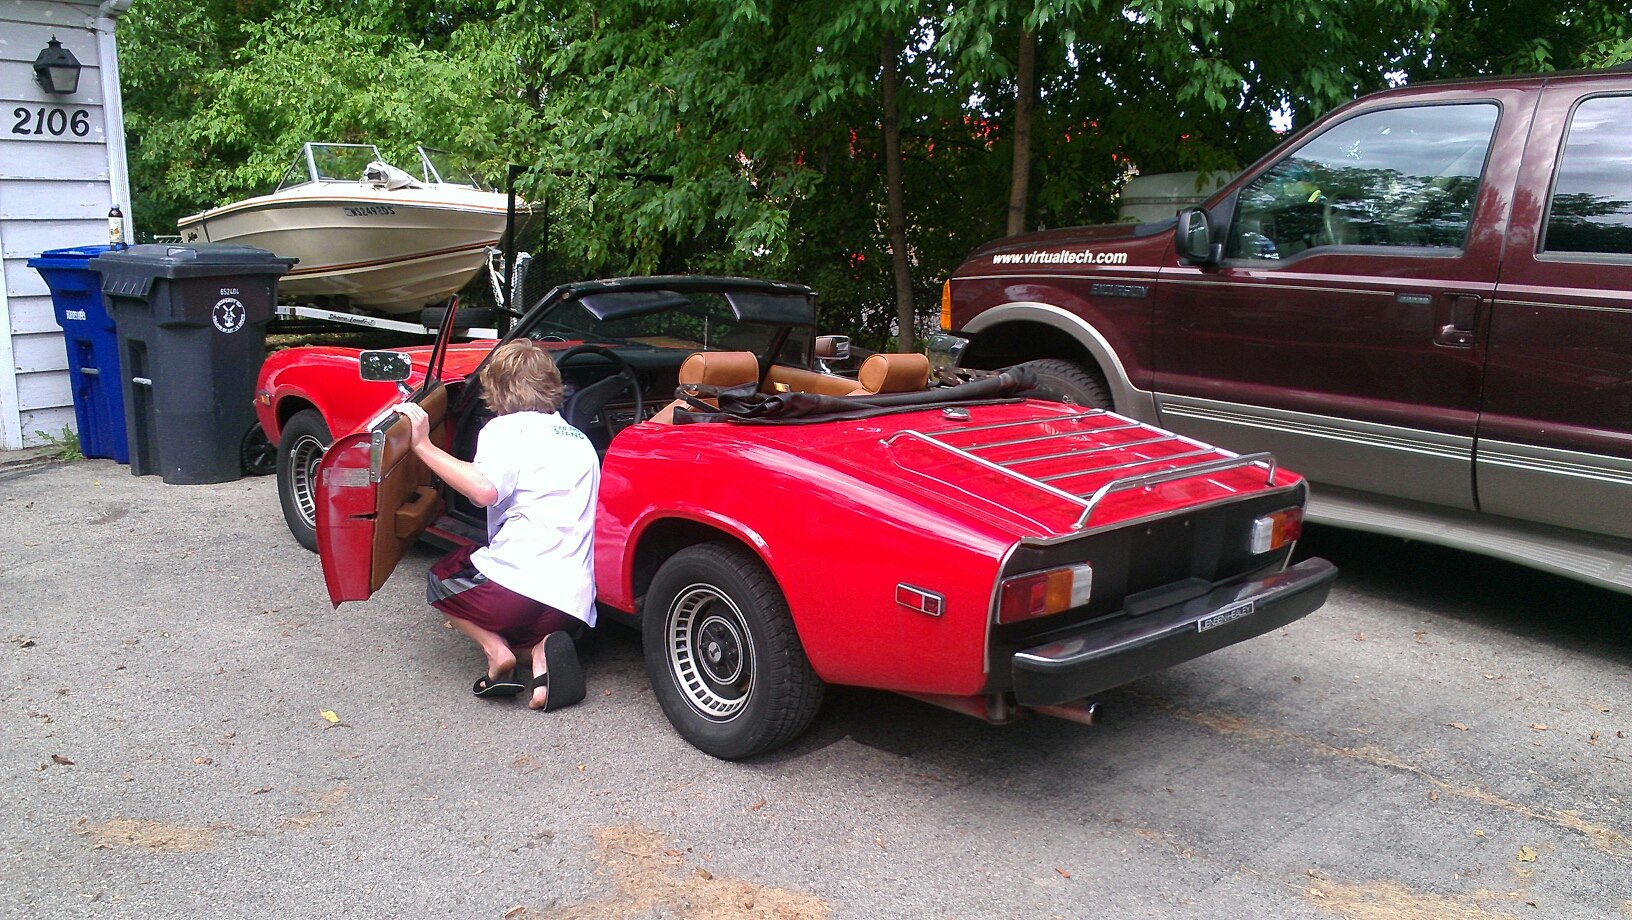
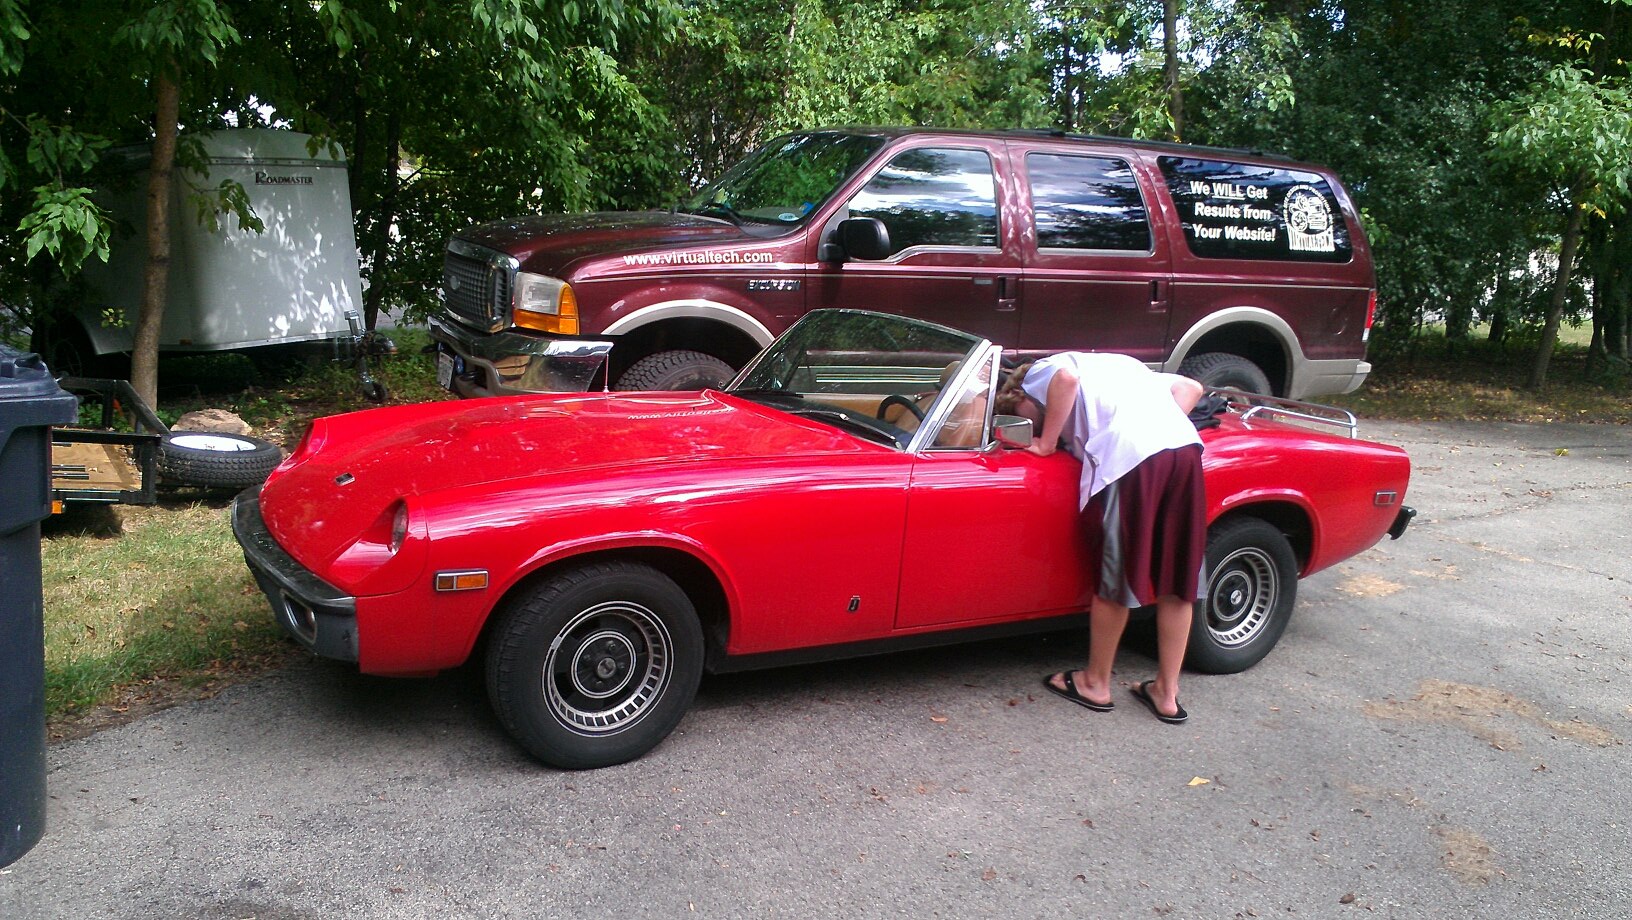
Brought her home for the first time on September 9, 2012. First, the general description and details about the car itself: she is a 1974 Jensen Healey MkII. She seems to run pretty well though she idles very rough. Not too worried about that yet. Included with the purchase was the original owners manual complete with foldout wiring diagram (which proved invaluable 24 hours later, as explained in the next paragraph), a shop manual, a Haynes manual for the Strombergs, the original (I think anyway) hardtop which is in pretty good shape except for the fact that someone decided it was a good idea to paint it metallic grey, and all the receipts for the work that the previous two owners had done going back to 2001. Interior is really nice, probably not original. Body is ok… it’s been repainted (red) and mostly solid except for the rails being a little soft and a few soft spots in the floor. That’ll be the winter project.

Now, on the way home I noticed that it wasn’t charging… meter wasn’t moving, but the ignition light wasn’t coming on either. Battery seems to be good (thankfully) and after doing a voltage test across the battery I determined that it was not charging at all. So, I charged up the battery and spent Sunday afternoon between the manual, the car, and this site learning how the Lucan 14037 alternator was supposed to work. The receipts showed it was replaced in 2009 so I was hopeful it was something simple. Diving into it, and scratching my head repeatedly, I figured out that whoever installed the alternator didn’t seem to understand it. Long story short… I pulled out the wiring they had spliced in (with spin on wire nuts, can you believe it?) and basically replaced the three wires with new ones, with new connectors, and actually connected the wires where they were supposed to be connected (the brown/yellow exciter wire was connected to one of the 3/8″ terminals, and the lighter brown wire wasn’t even connected). Put it back together, crossed my fingers, fired her up, and watched the voltmeter rise up to a little over 14V. Whew.

So, that solved, my next step was going to be to investigate why the tach and temp gauge don’t work. Looking at the wiring diagram, I wonder if it’s just a bad connection since if I remember right they share a white wire from the ignition switch.

Meanwhile, I took it out a bit the past two days to play with it a little. I had noticed the car pulled to the left a bit and could hear the pads dragging a bit, so it was no surprise when, today, I hit the brakes and the left front wheel pretty much locked up. Didn’t skid but it was pretty tight. So, it gingerly went back home and into the garage, where it will sit while I ponder just how much of the braking system I want to replace.

I’ll update as things progress.

272586_525571930792398_323005988_o 287651_525571837459074_1725937639_o 331036_525570377459220_377458107_o