Monthly Archives: March 2014

I’m beginning to see red!

As promised, got the lids painted yesterday. Hood/bonnet and trunk/boot lid are a nice shiny red now. Plus, I had to sand and reshoot the headlight surrounds as I had a couple of drips I didn’t notice the first time around. Note for successful painting: LOTS of light so you can see what you’re doing.

97lidsbefore
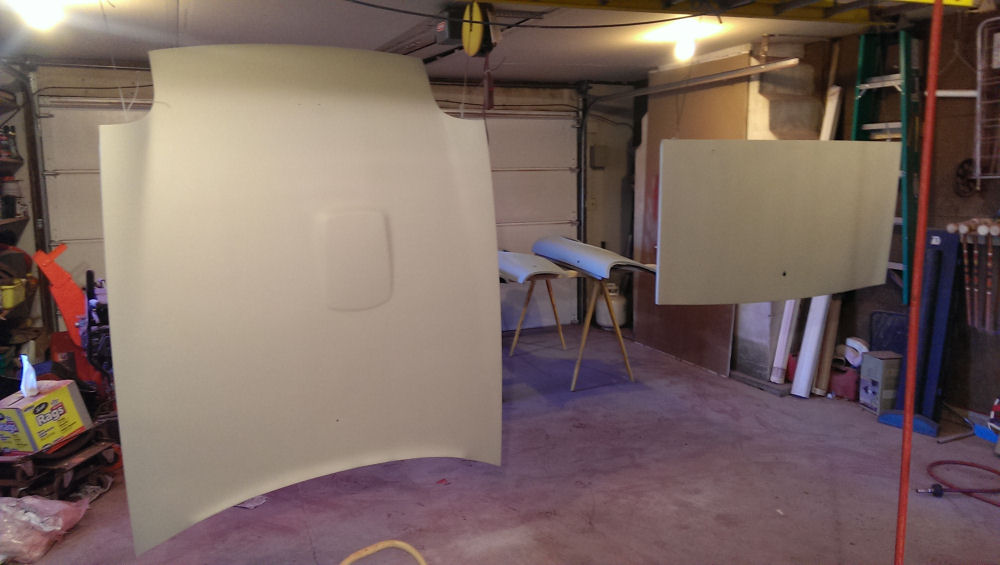
Saturday afternoon, after priming was complete.
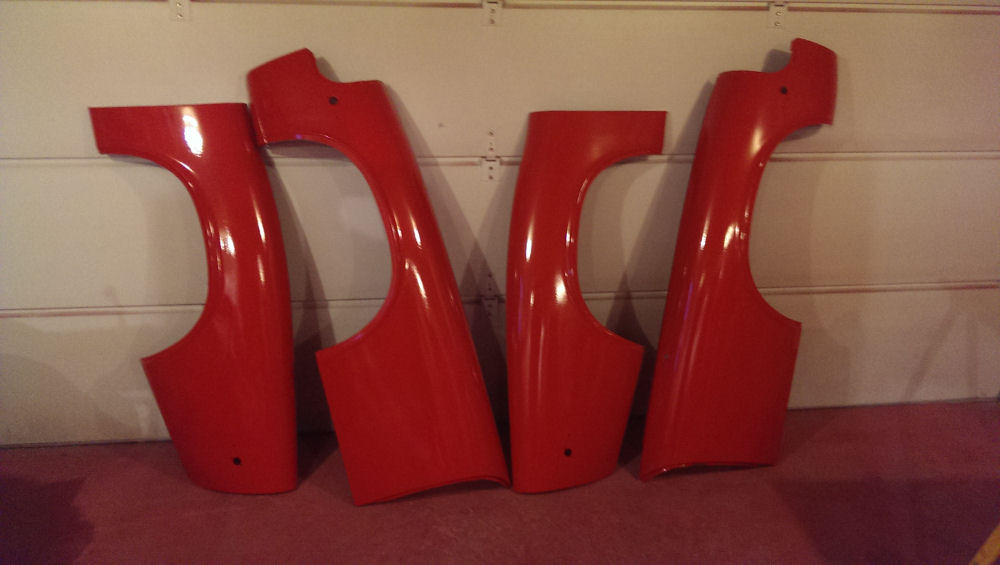
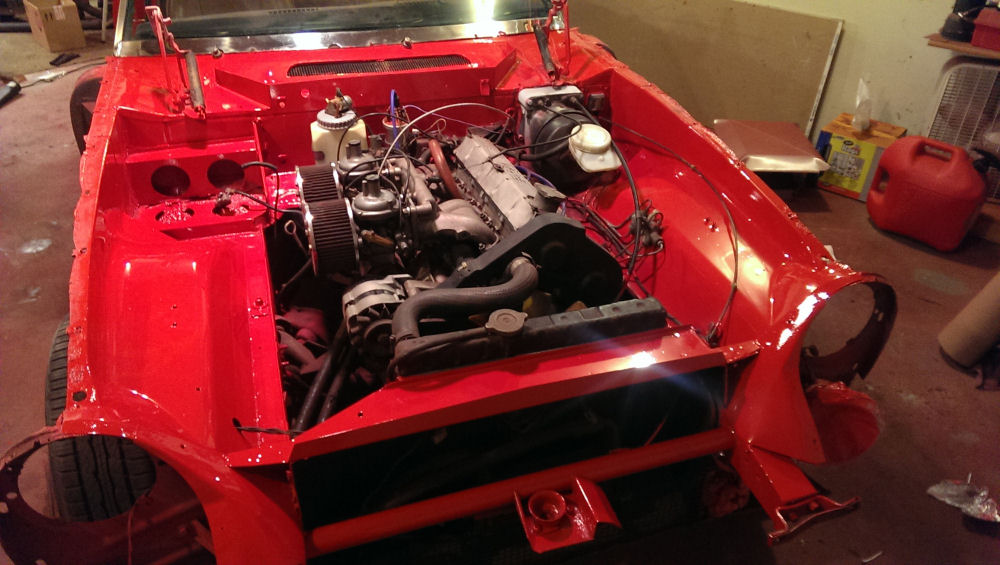
101fenders
Nice red fenders!

98lidsafter
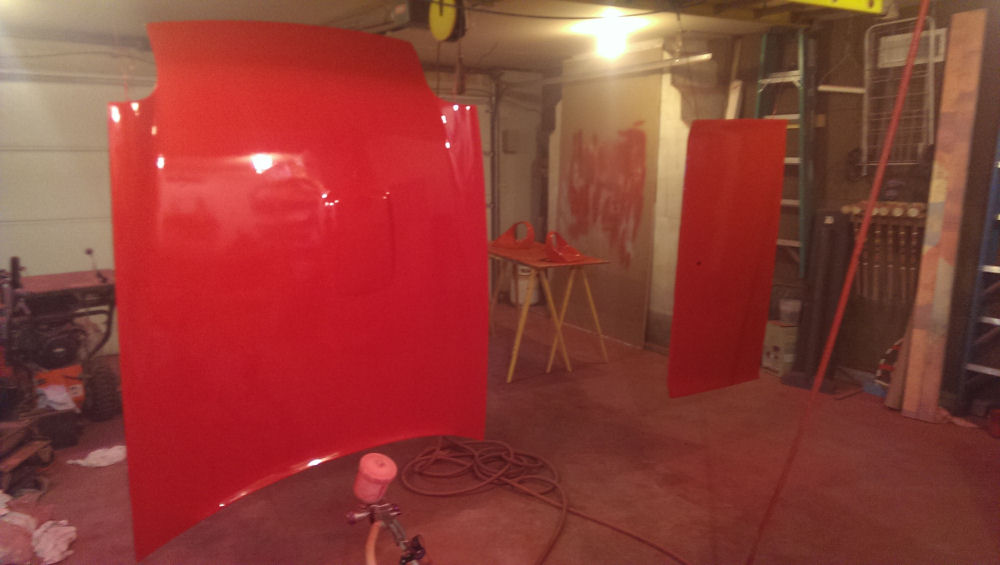
Bonnet and boot lid to match.

102scoops
And the sugar scoops, post oopsrepair.

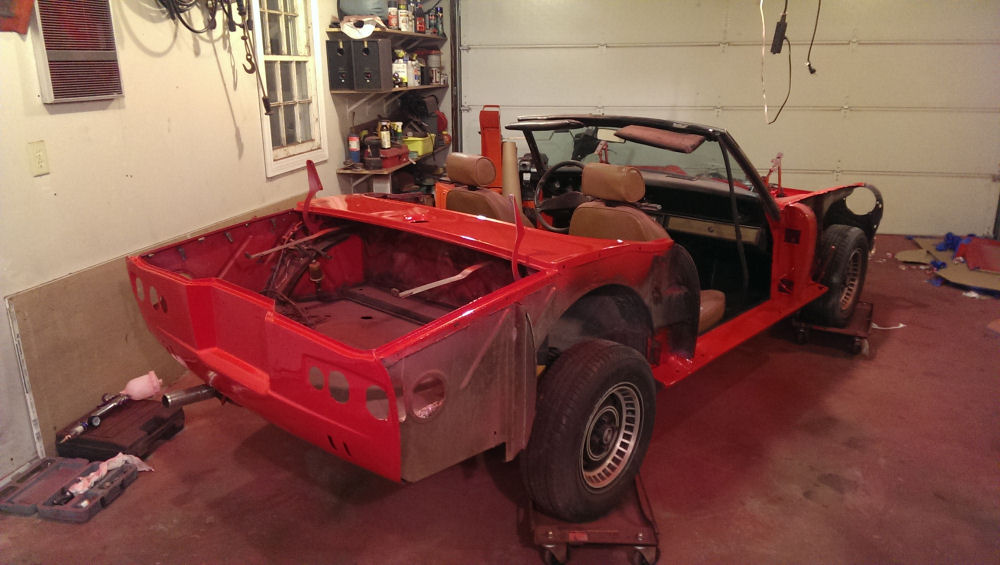
Only thing left to strip and repaint are the doors. At this point, if my repaired gas tank is done today or tomorrow, I am thinking it’s time to bring Ms. J back home and reassemble what I have disassembled before tackling the doors. I’ve got the resurfaced rotors and drums from the parts car all ready to swap onto Ms. J, and my club store order arrived last week with new pads, new shoes, a new rear brake hose (I replaced the front last year), and a new filter element for the factory airbox.

I plan to do the brakes before anything else since I’ve got more room to work with with the fenders removed, and after that do the application of the truck bedliner on the rockers. Once that’s done, it’s time to start the remounting of the fenders and everything else that’s been removed… we’ll see how good of a job I did of labeling everything I removed. Expecting more that one instance of “ok, where did I remove this from?” and the inevitable “why do I have parts left over?”.

Paint and more paint

More painting today. Primed and painted the fenders and headlight “sugar scoops”, and primed the hood/bonnet and trunk/boot lid. I’ll be painting those tomorrow, didn’t have enough room in the garage to hang everything properly and while I had the fenders on sawhorses to prime them, it’s a heck of a lot easier to paint them if they are hanging. At least that’s my experience.

So, at this time tomorrow, all that should be left to refinish is the doors, which I haven’t even started yet. Those look like they will be a gigglefest to disassemble.

A nice day for a drive!

Friday, decided that since I’m done with the chassis for now until I get the fenders, etc. painted, I decided to take Ms. J over to the 10×20 storage unit I’m renting. This will make the garage much easier to get around in for painting the assorted panels, and I don’t have to worry so much about overspray hitting her.

As I thought about it, I realized that the only thing keeping her from being “drivable” was that her battery and fuel tank were removed (and in the storage unit with the other bits removed from her).

So, went over there (it’s only about a block from the house) and grabbed both those bits, brought them back, and charged the battery for about a half hour while my son and I put the fuel tank back in, at least temporarily. Was more than pleased that she started more or less right up (she’s never been what I would start an easy starter), so the only thing keeping me from driving her over to the storage unit was the “legality” of it.

drivetounit

Was that going to stop me? No, of course not. So, with the missus tailgating me with her 4-ways on, I drove her over in the condition you see here. No doors, fenders, bonnet, or boot lid. Got a few funny looks but it went pretty uneventfully.

Then, I spent the rest of the night doing the Bondo work I needed to do on the bonnet, as well as one of the fenders (unearthed a repair when I was stripping her paint off, and of course I wrecked the existing Bondo in that process). That went fine and they are ready to prime and paint. I think I am going to strip and prep the boot lid and the doors beforehand though, so that I can paint everything needing to be painted at once.

One thing came up during all of this, which initially was an “oh crap” moment but actually turned out ok, was that it was easy to see where my fuel leak in the boot is (with everything being removed and cleaned up}… it’s definitely a leak in the bottom of the tank. Well, at least now I know what it is. So, I called on a local radiator shop on Saturday morning and it turns out they can do a complete recondition on the tank (chemically clean, weld/solder anything needing to be repaired, and then coating the inside) for somewhere between $100 and $150, depending on how much repair needs to be done. Not a bad price considering the alternative of sending Jorge $400 for a tank that may not even go in right. I can live with it. So, the tank will go off to the shop tomorrow and be reconditioned while I’m doing the rest of the painting.

About a month ahead of schedule at this point. Getting excited for spring to get here!

A transformation… unibody is taking shape (or color)

I’m calling the unibody done at this point, fenders and bonnet/hood are all stripped and ready to paint (once I repair a little Bondo work I unexpectedly ran across on one of the front fenders). Then, all that’s left is trunk/boot lid (should be simple) and doors (will probably be a pain).  I did decide to paint her in stages and then reassemble the already painted panels. Planning on being uber careful when remounting everything, and if I scratch things up it’s my own damn fault (though I have to say that the urethane finish dries like a rock, not easy to scratch).

83enginebefore
The engine bay, showing the deteriorated condition of the original paint plus what’s left of what appears to be a quick black overspray with Krylon. I’ve got things masked off with Reynolds Wrap, ended up taking it all off to redo after I stripped the paint (more on that below)

76rearbefore
The rear valance and taillight surround with most of the old paint removed…

84engineduring
And then I proceeded to strip the engine bay. This was an adventure. Stripping wheels on the grinder and drill, and a tiny little flap wheel on my Dremel extension for those hard to reach places. Remasked with foil and ready to spray.

And finally, after 3 coats of PPG 2K urethane primer, followed by 4 coats of PPG Cardinal Red single stage urethane…

89engineafter
90rear
Quite a difference. This was my first time working with this type of paint. I have to say it goes on nicely, easy to work with, and cures to a rock hard finish. Of course, having the garage heated up to 92 degrees for 48 hours aids the process.

92fenders
These bad boys are next up, stripped and mostly ready.  I still need to do the Bondo work on the bonnet/hood and one of the fenders just under the headlight pod cutout. That should be done tonight, and the plan is to get them primed and painted before the weekend if all goes well.

Take it off… take it ALL off

Some unplanned time got added to the project. I thought I was close to priming and painting the “concealed” parts of the unibody (engine compartment, door jambs, etc). All prepped (or so I thought) and masked… bare metal on some, and sanded and scuffed on the rest.

So, I spent an hour at the auto paint store, and got a lot of free advice as part of the deal (remember I am hardly a professional at this restoration stuff and the last time I did anything like this was 25 years ago). Long story short… something I didn’t even think about. He basically explained the different kinds of paint to me and told me that the 2k urethane primer I was going to use would likely lift the old lacquer finish right off the car. Oh boy. Not what I wanted to hear. The whole reason for the repaint is to get rid of the Maaco bubbles!

So, the project has altered slightly now: she will be a true bare metal restoration. Hadn’t planned on it all the way through (I’m doing the “visible” panels such as doors, fenders, etc. because I have to remove the horrible Macco paint job) but now it ALL has to come off. Including the parts from the parts car.

Not horrible, but time consuming. I got most of the engine compartment done tonight, will finish tomorrow after I get a new drill (burned up my 25 year old Black and Decker tonight) and hope to finish it tomorrow. What seems to be working well is to use a pretty aggressive chemical stripper (Zinsser StripFast), let that sit for a half hour, scrape off most of the old finish (it doesn’t seem to have any trouble going through most of the layers) and then hit what’s left with a 3M SandBlaster disc on my drill or grinder, depending on the angle I need to hit it at.

It’s always something… but in retrospect it’s probably a good thing since it’s forcing the engine compartment to be cleaned really well. I’m doing this with the engine still in the car, using aluminum foil to mask off anything I don’t want painted. The Zinsser stripper, in addition to removing the paint, also does a fine job of removing most of the possibly 40 years worth of grease buildup. We’ll see how it goes.

New rocker in place, and paint no longer in place

Another mostly productive weekend went by, with only one calamitous discovery (which I was kind of expecting anyway).

First, the good. Yesterday, we finished the graft of the “new” section of rocker panel to Ms. Jenavieve. Came out pretty good. Apparently two semesters of welding classes have made an impact on my 18 year old. Ground down the seam and with a little filler you won’t even see the seam.

Also spent a LOT of time with a sander/grinder this weekend. All paint is removed, down to bare metal, on the rear valance, the rear deck (between the convertible top well and the trunk opening) and both rockers and door jambs. All that’s left to do of the “unibody” is to finish paint removal and prep of the trunk interior and the engine compartment. Then, prime and paint. I’m taking a week off from work (it’s nice to be self employed) next week to spend several full days working on her. The goal is to have this work all done by the 15th of March.

Now, while I was doing all this, I also stepped to the side and started the paint removal of the hood, because I had a nagging feeling that all wasn’t well there. Of course, I was right. Armed with a 50 grit sandpaper disc and backing pad on my angle grinder, I went to work.

After I got through the Maaco paint job layers down to the original finish, I started running into body filler. Yup, someone creased the hood at some point. They did a pretty good job with the filler, it wasn’t even noticeable other than the paint had cracked over it (which was my clue, it was right over the area where the telescoping hood strut would have been if it was still installed). Of course, I didn’t discover it until AFTER I hit it with the sanding wheel, so the filler got gouged up pretty bad. I ended up just going down to the bare metal there as well, and can see all the peen marks and such where they bashed it back into shape. No more than 1/8″ of filler, but that’s enough, and though I’m pretty fair with body filler this looks like a bit of a challenge with all the contours of the hood. I may ring up my body shop friend and see what he’d charge me to do it right.

Anyway, still not ahead of schedule, but at least not behind.