Monthly Archives: January 2014

Rant time.

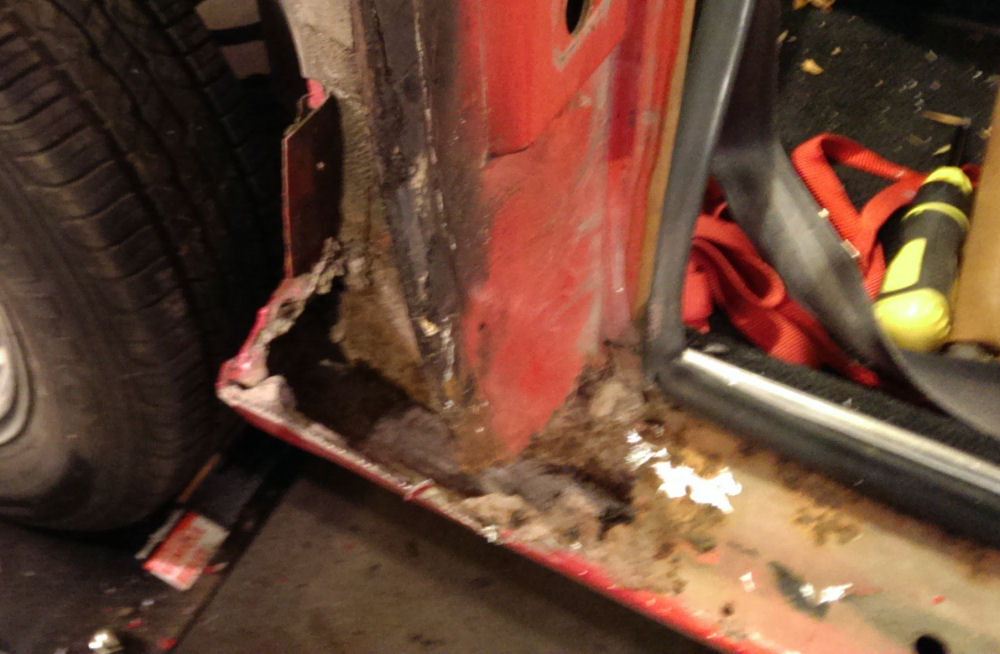
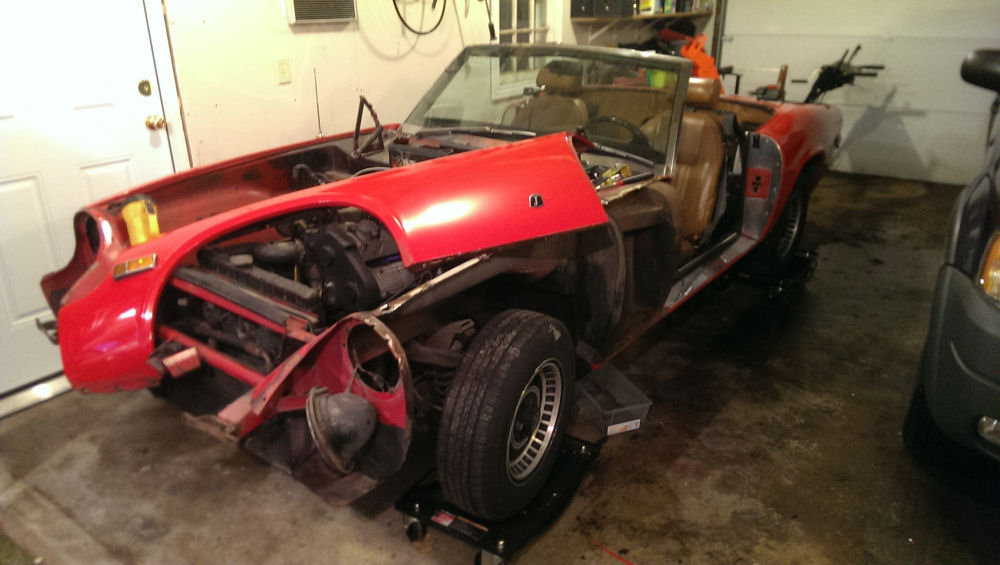
We were looking at the passenger side rocker/sill from different viewpoints, and decided that since it’s in pretty good shape (other than the obvious spot behind the door) the most straightforward route would be to chop the rocker I took from my parts car a few inches into the door opening and weld it in to replace the existing rotten area (basically making the rearmost 12 inches or so new from about the drain hole in the door jamb back to the wheel cutout).

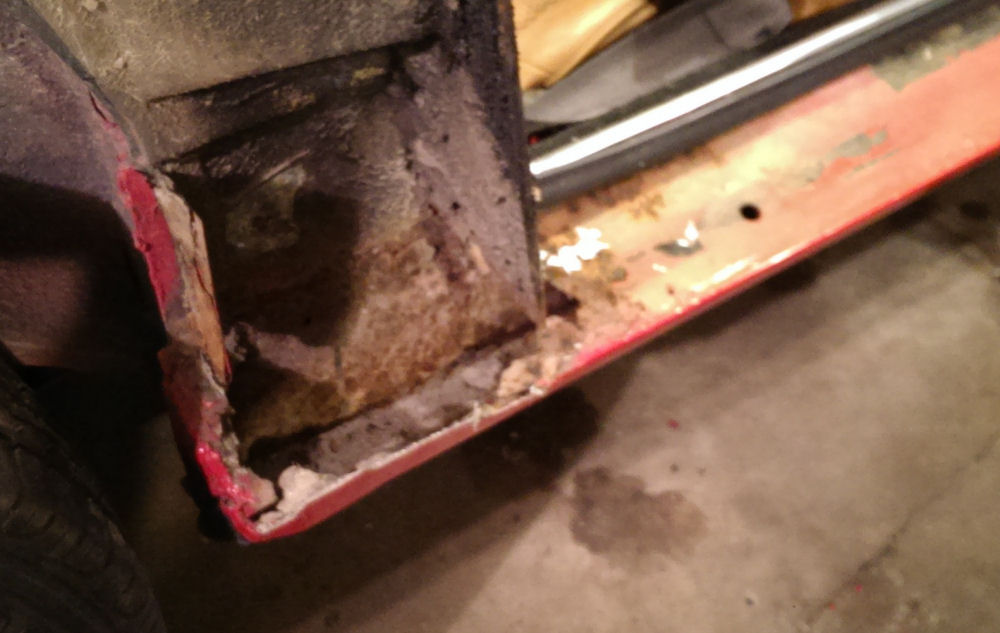
After fighting with it for the better part of yesterday and today, it’s just not worth it. After drilling out about 30 spot welds, I still don’t have the outer panel separated from the rest of the sill on the piece I want to put in. Not to mention that I haven’t even started trying to remove the associated parts from the car. The rear corner of the rocker/sill is the wackiest welding job I have ever seen. Counting the outside (visible) panel, the inside stiffener, the end triangular piece that closes it off, and the inner sill, there are 4 (yes 4) layers of metal that are welded together at the rear.

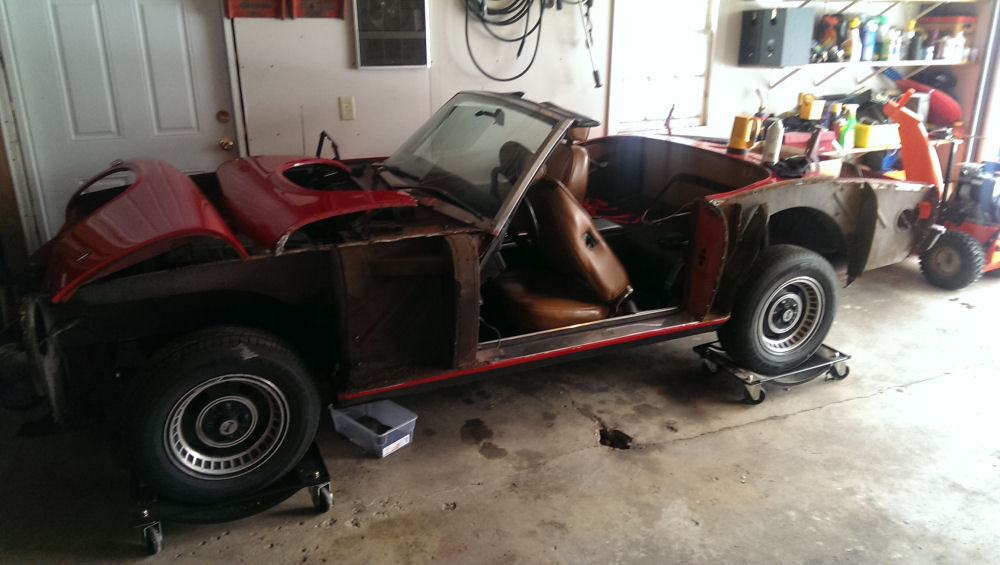
Going to take a day to lick my wounds (and wait for it to warm up a bit, supposed to hit -25 degrees F tonight) and then look at it again and see just how hard it would be to fabricate a new piece or pieces to patch what needs to be patched. I’m trying very hard to do this all “right” but I keep losing sight of the fact that most of this repair will not even be visible when the fender is re-mounted.

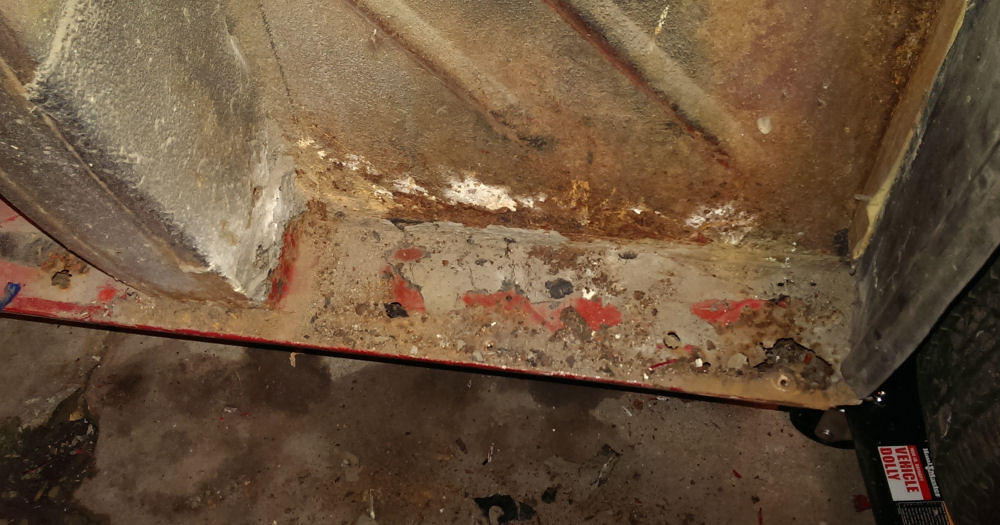
So, the plan at this point is to make a couple of new pieces to fill in the big hole, welding to the inner unibody panel and then wrapping over to meet the rocker at the point where it changes from red to black in the picture above. Then, patching the bad spot behind the front wheel, cutting out most of the visible flat part of the rocker under the door and welding in a new flat piece of metal.

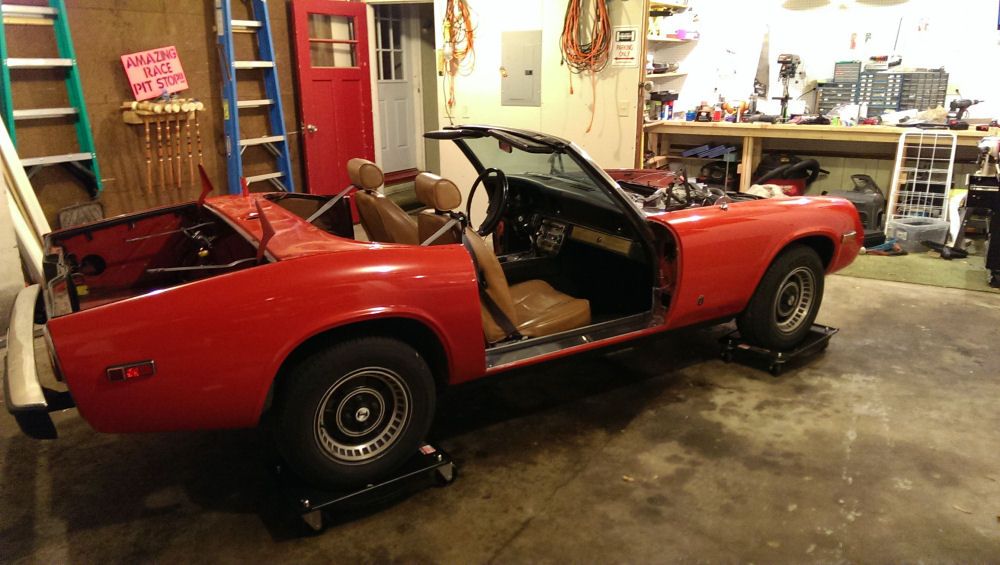
At least this is the bad side. The drivers’ side is in much better shape… really the only bad spot is behind the door and it’s not half as bad as the passenger side.

I’ll get past this, but just frustrated right now.

Oooh… There’s the rust I knew was there.

Spun Ms. Jenavieve around on her roller skates last weekend to get the fenders off the passenger side. That actually went surprisingly well. Expecting some pretty extensive rust issues at the front of the rear fender/rocker joint, and I wasn’t disappointed. The rear fender was basically just Bondo’d to the sill. The “tab” at the bottom of the fender wasn’t even there.

As promised, closeups of the rocker/sill calamity:

rockerrear1
Ummm… the top of the rocker is pretty much gone!  Also, the door jamb is pretty much gone in the bottom area.

rockerrear2
Another view of the same area.  Haven’t hit it with the grinder yet, but there’s not much to work with there.

rockerrightfront
At least the front is mostly in once piece.

Obviously, there are likely rust issues on the inside that I can’t see at this point, too.  Debating whether to just cut out and weld sheet metal as needed, or perhaps chopping up the rockers I took off my parts car to patch in the front and rear bad spots, while leaving the middle (though I know I need to cut out a “window” and weld in new metal in the center under the door). The fewer spot welds I have to drill out, the better.

And of course fabricate a patch piece for the bottom of the door jamb.

This is getting fun!


How to keep all these parts straight?

I thought I’d share an organizational idea I came up with during disassembly.

I went and got myself a couple of boxes of Ziploc storage bags, both the quart size and gallon size, a Sharpie, and a pack of index cards. Then, as I remove items, I put them in an appropriate size bag along with an index card stating where they came from. So, as an example, I have a bag with a card labeled “Front Left Fender” which has all the fasteners I removed, along with the side marker light. Another one labeled “Stainless Trim” with the screws from the door trim, the curved trim pieces from the rear of the car, and the little retainer clips for said curved trim pieces. Obviously, the larger parts don’t need to be bagged since they are quite apparent as to their identity, but the fasteners that go with them aren’t… hence the labeled bags. You get the idea.

I would hope that this will aid immensely in the reassembly portion instead of having a box filled with all the nuts and bolts that came from various places in the car all mixed together.

The disassembly begins.

The weekend passed and I actually got a lot done! Over Saturday and Sunday, my assistant (the 18 year old son who is anxious to start welding and is planning on this car being his someday) and I made a huge dent (pun not intended) in the disassembly process.

doorsetc011214
First order of business, after removing the battery, was to remove the doors, bonnet, convertible top, and boot lid. Then, off came the front bumper, and gas tank. That all went fairly quickly.

front011214
Then, since I had way more time to work with than I thought I would, off came the headlight pods, headlights, and the left front fender. Not bad for 6 hours of work.

I was pleasantly surprised with the condition of the gas tank (my guess is that my leak isn’t coming from the tank, but rather from the fittings and/or hoses) and the boot floor itself. Some surface rust, but it seems mostly solid.

Sunday, I went back out and decided to tackle her again. Besides removing things like the hooks that hold the top down at the rear, all the snaps that hold the top in place, the taillights, the vertical stainless trim in the door jamb, and the curved trim pieces at the rear of the car, I also removed the left rear fender. Now, THAT was a job. I experienced my first significant rust along the way, and while I was pleased with the condition of the rocker/sill at the front fender (it’s actually quite clean) the condition behind the door is pretty atrocious. I was expecting the worst after seeing the bad Bondo job one of the POs had done, and I wasn’t disappointed.

leftremoved011214
In order to remove the rear fender, after removing the myriad of bolts and rivets (and having to melt the lead to get at a couple of the rivets), I ended up having to take a Sawzall to the fender in the little section in front of the wheel where it bolts to the rocker since the bolts were covered with about a half inch of Bondo. Once I did that, I was able to wiggle it off.

There’s basically nothing left to the top of the rocker in the area where the rear fender and the stoneguard attach. After chipping away all the Bondo, the center of it is basically a big hole. Next step will be to get the stainless trim off of the bottom of the door jamb (where it’s basically glued to the rocker) so I can assess just how far it’s rusted. I remember removing the stainless trim panel from my parts car and it was a hassle… not sure what they used to glue it down but it’s seriously strong stuff.

That reminds me… they used the same, or something similar, to seal between the top of the rear fender and the edge of the frame where the weatherstrip for the boot lid is. What is that stuff? Some kind of caulk? I found that heating it up only makes it even harder.

Anyway, a good weekend of work. Looking forward to next weekend when the other two fenders come off and I can finally assess just how much work we are going to have to put into fabricating metal patch pieces for the rockers.

No more excuses. Time to crack on.

New year, and time to get to it. I have 19 weeks to get Ms. J ready for the Jensen East 2014 event. Nothing like a deadline, right? I got a bit of a wrench thrown into things when I blew out my knee back in November and had to have it scoped, but I think I’m now ready to tackle the project in full.

Assuming the weather warms up some (if you haven’t seen the national weather reports, it’s crazy here… minus 21 degrees F at the time of this writing) my first goal is to get everything unbolted by this coming weekend. Doors, bonnet, boot lid, and fenders removed, and seats and carpet pulled. Garage is heated and insulated, but that kind of temperature is hard to overcome, so we’ll see.

Then, it’s assessment time regarding floors and rockers, once I have the above stuff out of the way. I took a look at the rockers from the parts car this weekend, and while they are pretty clean as far as rust, they are not exactly perfect (lots of little dings). Still debating if I want to go to all the trouble of using them, or just cut out what I need to cut out on Ms. J and weld in patch panels. Won’t know until I can see what I am working with.

Wish me luck.